Published on: September 28, 2025
Looking to set up Roundcube on your CyberPanel server? The process is quick and efficient, and we have got you guided below;
Before you begin, ensure:
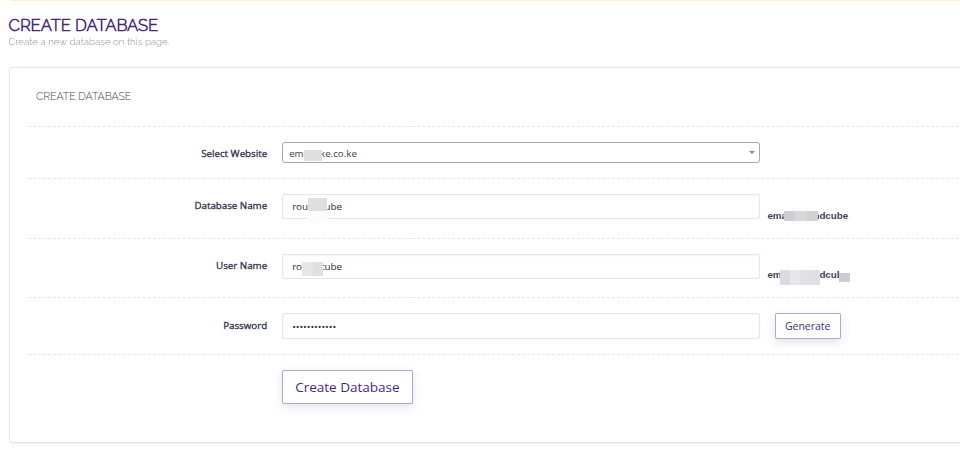
This database will be used during Roundcube configuration later, thus save the details for later use.

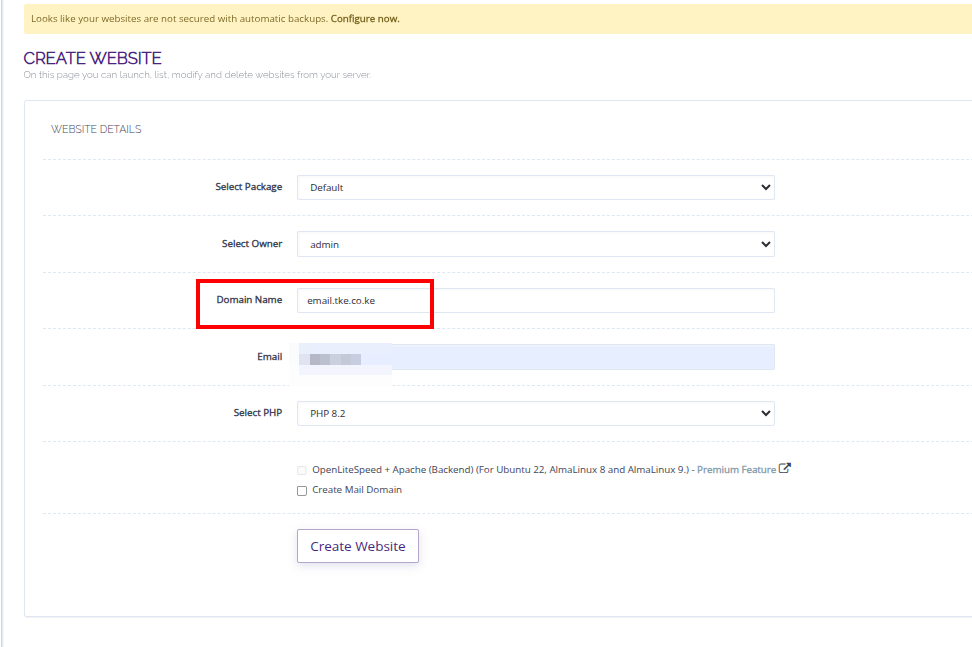
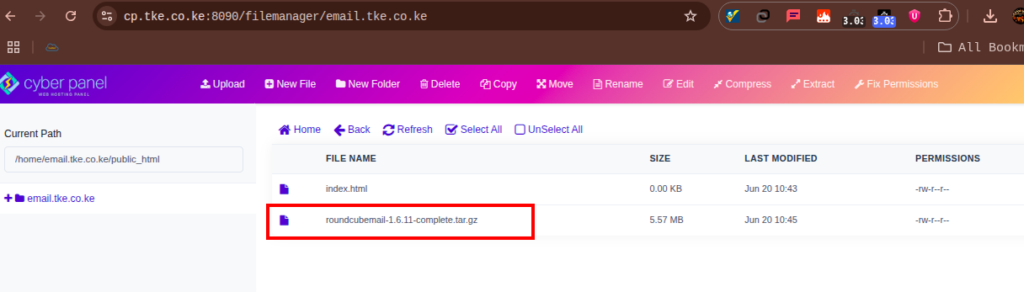
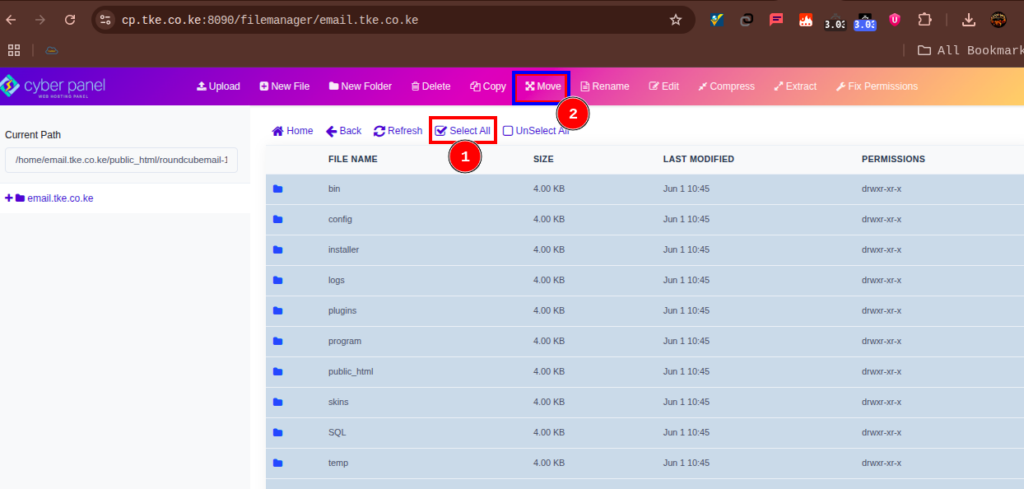
2. In CyberPanel, navigate to File Manager for your selected domain. In my case it is email.tke.co.ke
3. Upload the downloaded Roundcube archive.
4. Once uploaded, extract the archive.
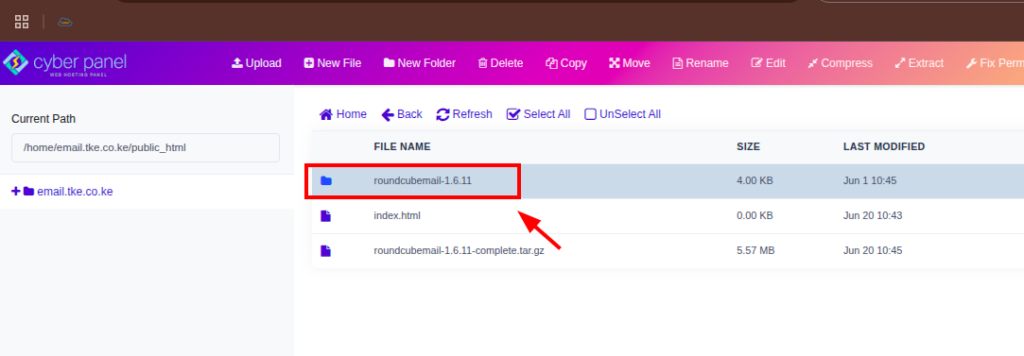
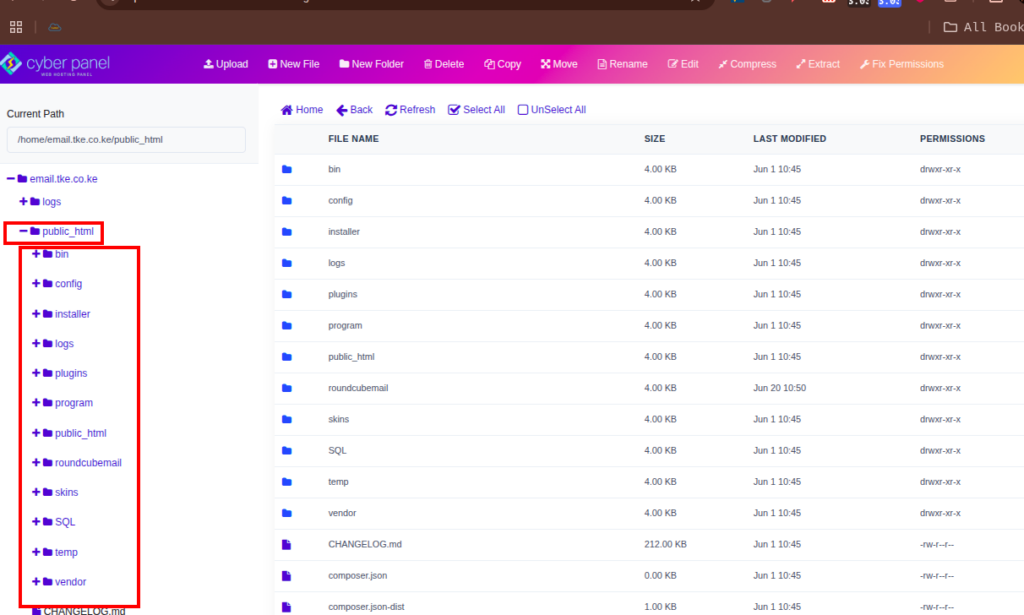
5. Move the extracted files to your domain’s root directory (e.g., public_html).
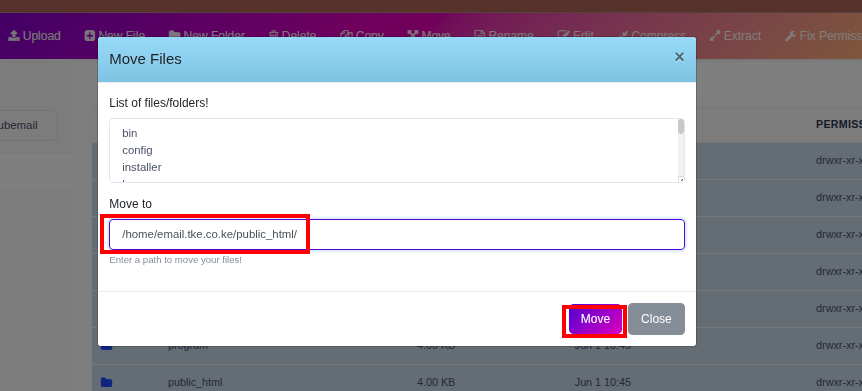
6. If the extracted folder has a version suffix like roundcube-1.6.9, remove it while moving the contents.
Ensure Roundcube files are directly accessible under the main domain path.
https://yourdomain.com/installer. E.g https://email.tke.co.ke/installer/
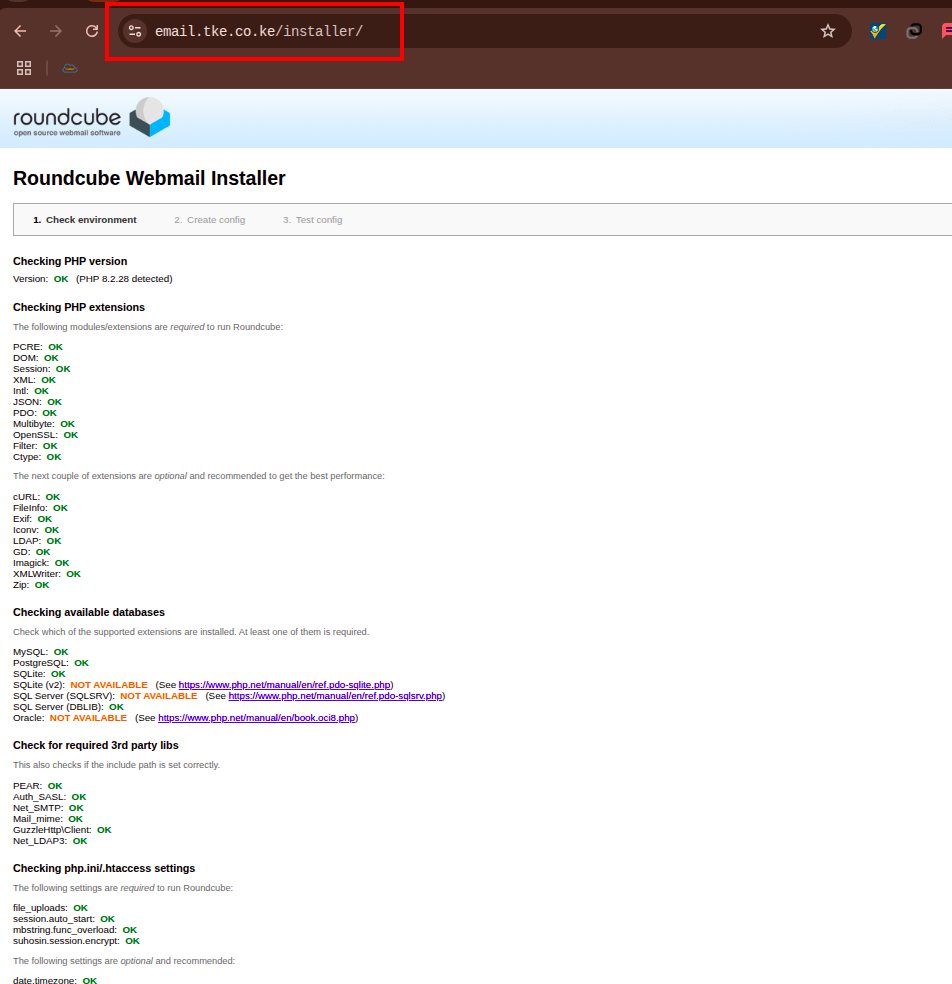
If any extensions are missing, go to CyberPanel > PHP > Install Extensions, select your PHP version, and install the required ones.
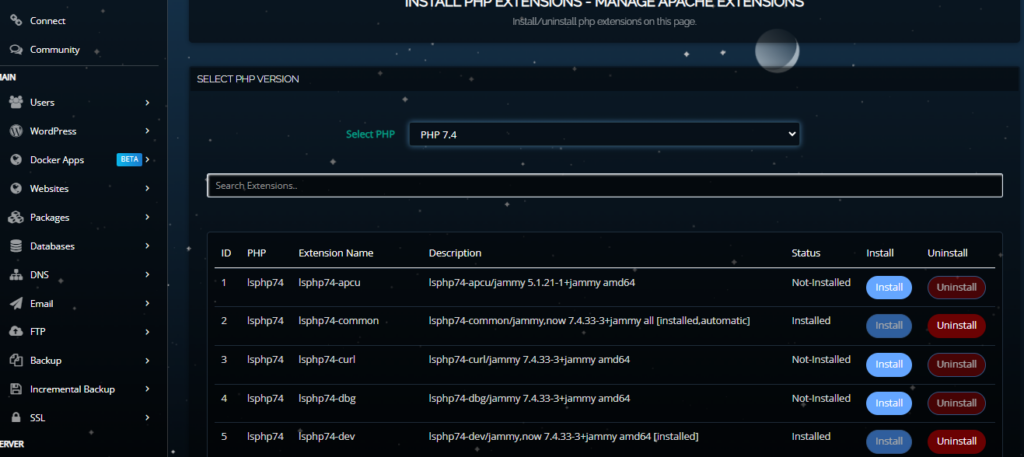
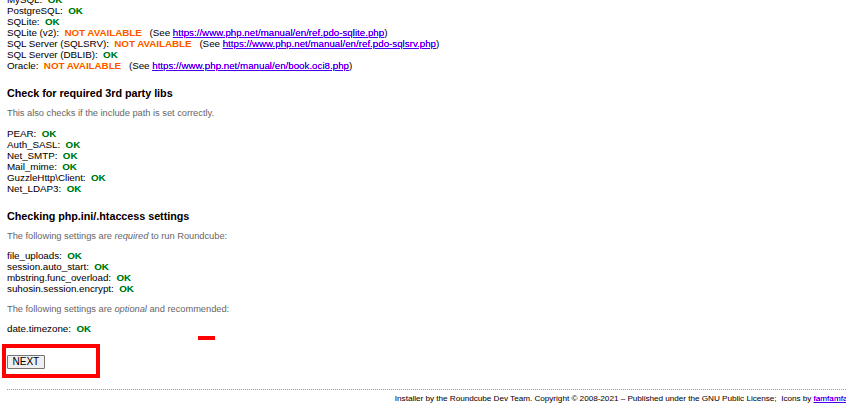
You may not need to install any, since most of the needed ones are pre-installed. Click on Next
There are many sections here, including General Settings, Logging and Debugging, etc but below are the essential ones that you need adjust. The rest, you can leave them as they are with defaults.
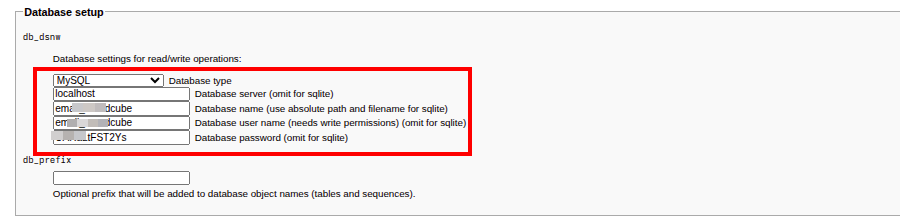

Once done, click Create Config and then Continue.

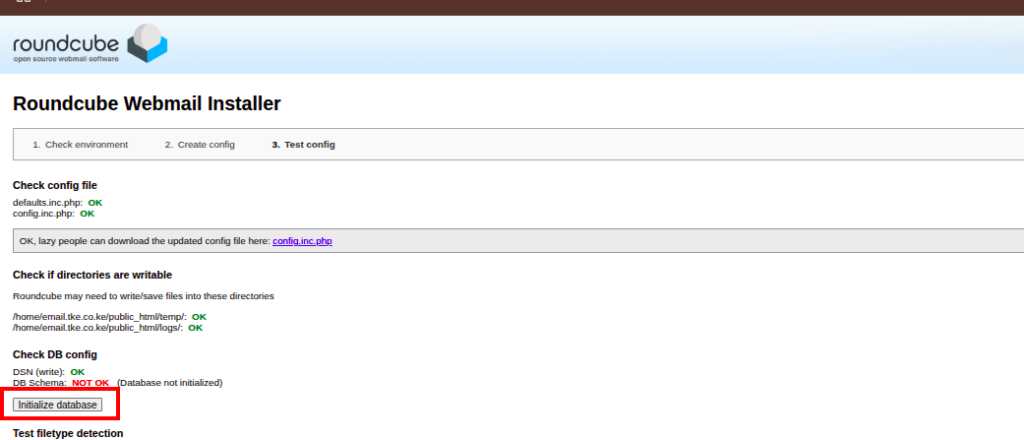
You will see a notice at the top of the page, saying that the changes have been saved. Click on CONTINUE

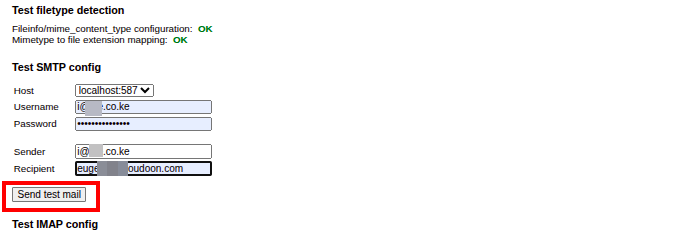
3. Proceed to test SMTP settings by entering:
This helps verify Roundcube's email-sending capability.

After completing the setup:
http://yourdomain.com
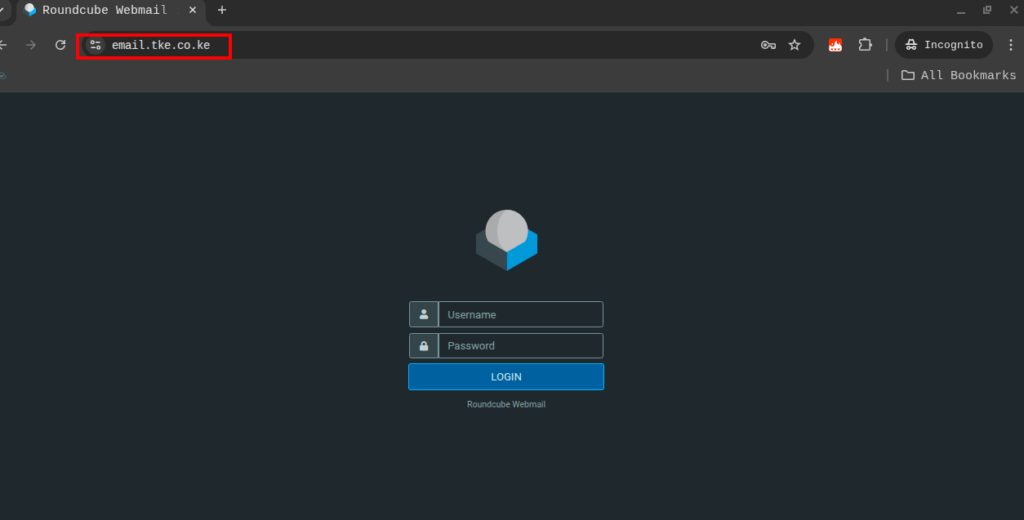
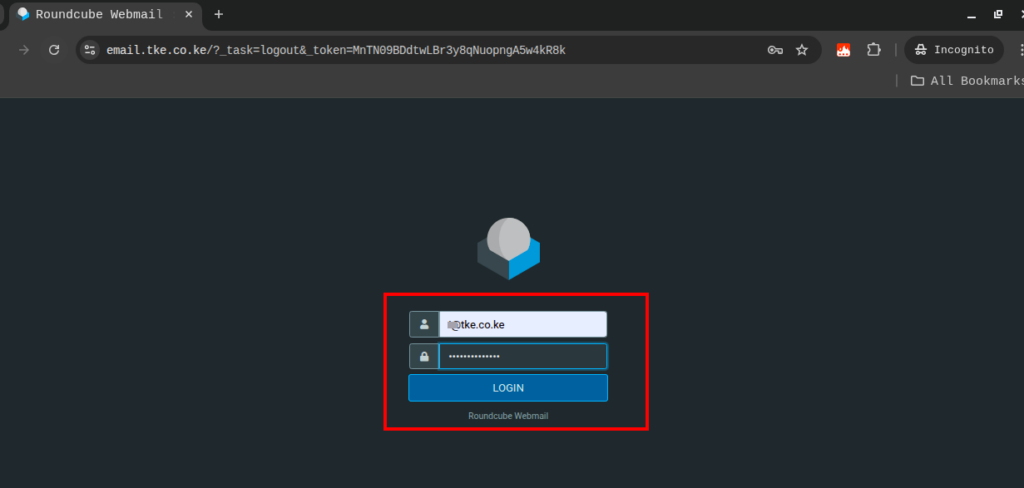
2. Log in using your email credentials.
3. You should see the Roundcube dashboard.
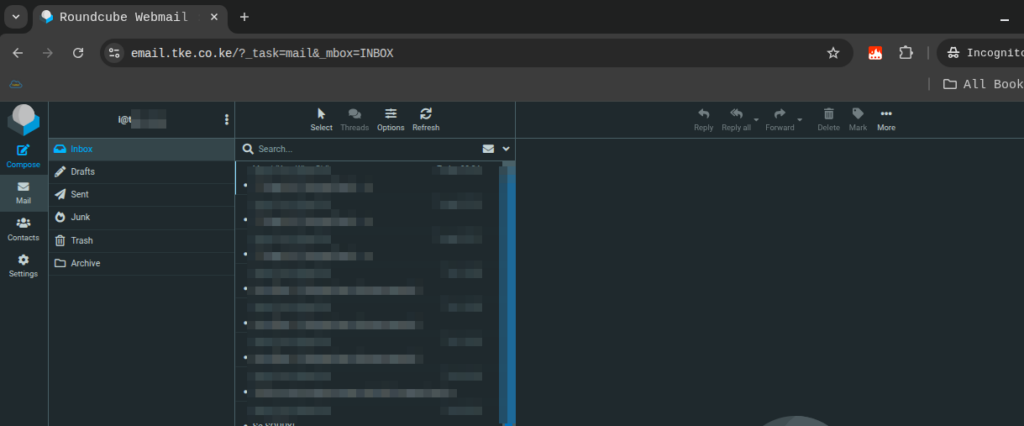
Installing Roundcube through CyberPanel is a simple process that unlocks a full-featured webmail interface for your users. With proper configuration, you’ll be able to send and receive emails through a sleek, browser-based client in no time. I hope this guide has helped you do that.
Hey, how about you leave Eugene and Truehost a 5-star review about this guide? Please do it here and here